
Then the front stay mounting brackets had to be riveted in, after drilling out the bolt holes through the wheel well.
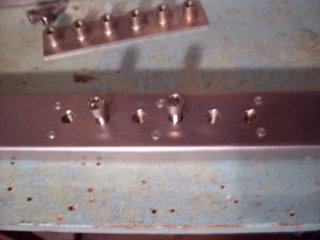
Nut plates for attaching the seat were riveted into the U channels, which also stiffen the bottom plate, and provide gusseting for the main spar. The main spar is shown below, after having been riveted to the bottom plate.
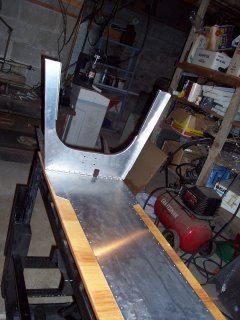
Between the preparation of the wheel wells and U channels, and the step seen above, I took a couple days off to create a new work space in the basement. This was affected by knocking out a couple walls from an ancient darkroom. (used by previous owner) The pictures I took fail to convey the process adequately, so I haven't bothered uploading them. With the U channels clecoed to the main spar and bottom plate, the wheel wells were ready to be positioned, as seen below:
Well, I guess the U channels aren't yet in place in this shot. It's hard to tell from the thumbnails I was browsing through.
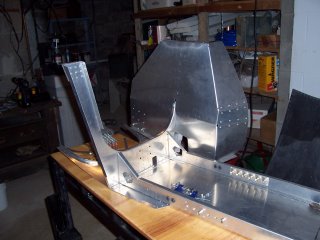
That's better. This picture shows the U channels clecoed to the main spar with just the right wheel well in place. Visible on the left of the main spar is the stainless steel bracket which will support the top of the shock/steering strut. Below you can see the whole assembly flipped over to rivet the bottom plate to the lower flanges of the wheel wells.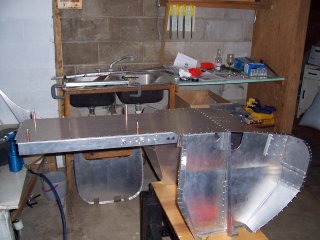
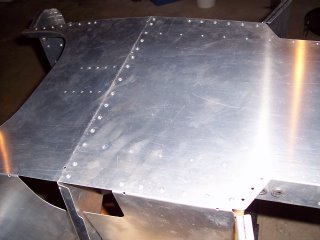
Finally, a shot of the structure after riveting it all together. At this point, I am awaiting further instructions, having received the first part of the manual as an Email from the manufacturer.
posted by VMDave at 8:09 AM
![]()
![]()

2 Comments:
Hi Dave,
Awesome to see that you are underway with your AW. I hope you are having fun building it!
regards,
-Ethan
Hi Dave,
Glad to see the kit arrived. Looks like you're making good progress. Keep up the posts.
Paul
Post a Comment
<< Home