News from afar...
In my last post, I was discussing the constuction of the seat, and if the blogger is cooperative and allows me to upload some photos I will continue doing so.

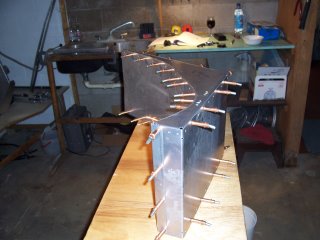
Cool. This photo shows the seat clecoed together, after which I took it all apart, and deburred all the holes. This step, while tedious and time consuming, is very important because failing to do so would result in chips being trapped between the parts being riveted together. The sharp edges present in un-deburred holes also add to the stress applied to the rivets, since they expand somewhat to fill the holes in which they are used. Any sharp edge or corner creates a stress riser, which weakens the assembly. Even the steps turned in a steel shafft are made with a radius rather than a square corner to minimize this effect. But I digress....... How about another picture?

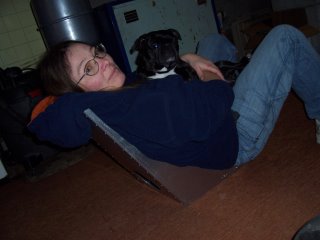
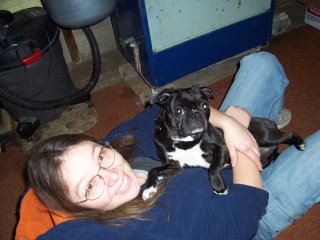
The photo above shows the seat all riveted together, and ready to be comfort tested. To insure impartial results for this test, I enlisted the aid of my fiancee, Leah. She is shown below actually testing the seat, while making herself look even more beautiful by holding her ugly little dog (Lola).


Now I guess I need to take some more pictures. I haven't yet finalized placement of the battery packs and associated equipment for the Power assist option. I am thinking about making brackets to hold the batteries down with elastic or perhaps O rings. Wow, Leah just suggested velcro....I like it. Thank you Leah. Well I am happy that the old bloggerbot was willing to upload my pictures today. The last few attempts have been frustrating at best. Besides thinking about battery placement and retention I have been trying to work up the courage to start the next phase of assembly. I have clecoed things together and studied how they will come together. Having done so enabled me to ask David some important questions, and so I am ready to move forward once again. More in a few days...

0 Comments:
Post a Comment
<< Home