Tail section
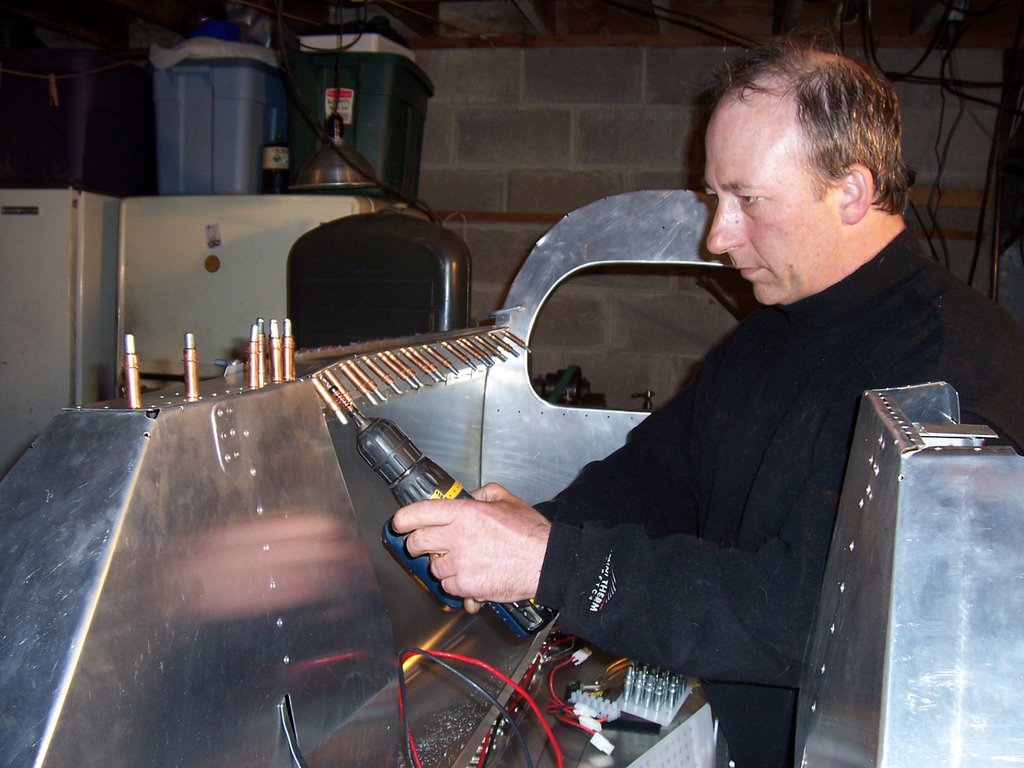
Upon looking into what it would take to install the tail section, I realized that I would need to drill out the rivets I had installed in the one cockpit sideplate. Not too big a deal, but first, I installed the armrest supports, since the armrests are pretty flimsy without them, and I didn't want them getting all bent up.
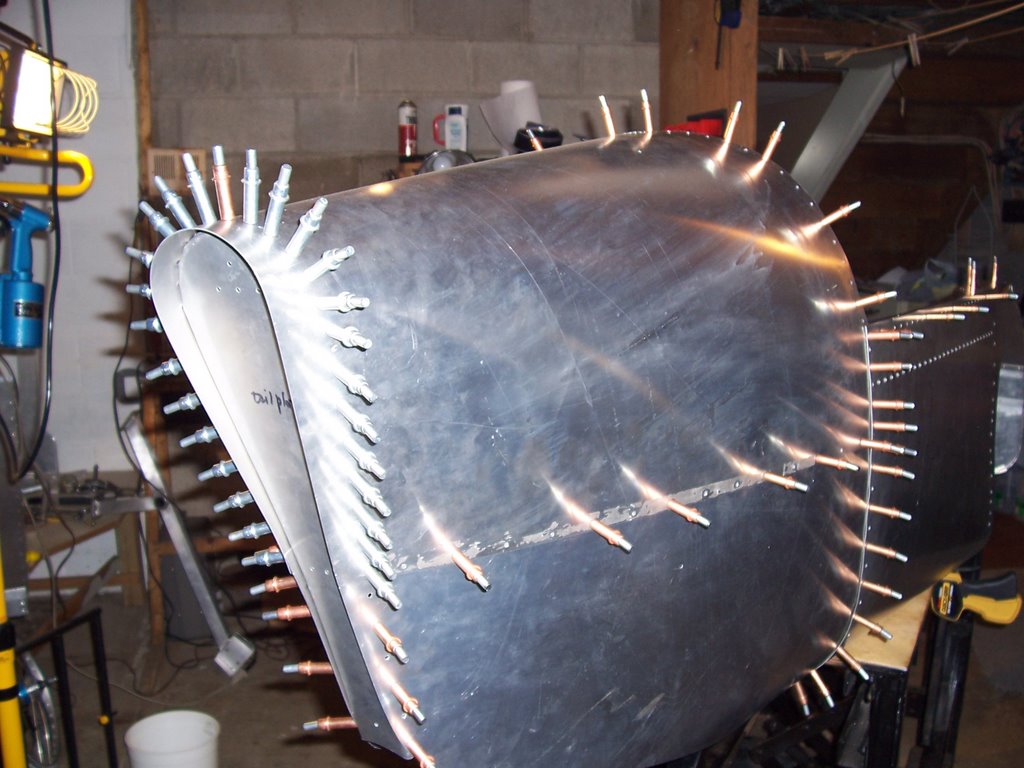
As you can see, I use alot of clecos to keep things lined up prior to riveting. It's pretty amazing what you can do to a flat sheet of aluminum. I started at the top, and kept drilling holes and clecoing the top tail sheet in place till I had created this porcupine-like structure.If I ever build another kit, I will definitely purchase an air powered cleco gun. Using the standard pliers leaves your hands pretty tired at the end of a day's work.
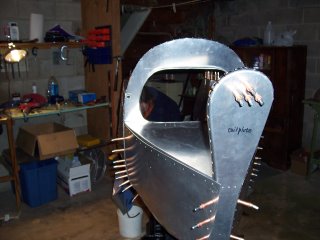
Here's a shot of the tail side plates without the top plate. The baggage compartment floor is visible at the seam of the top and side plates. Unfortunately I didn't get photos of the installation of the rear swing arm and rear shock, with the doubler that needed to be installed under the top shock mount bracket. Most of the time I have been ahead of the instruction manual, and the biggest hold up I have had has been trying to figure out what to do next, and the best way to make it all fit together. Having a complete assembly manual from the start would have made the process much faster and easier. To date the manual only is as far as the tail, and the version I was working with was missing some text and photos that were stacked on top of each other.
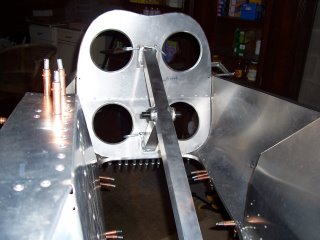
None the less, I continued, installing the bottom bracket and the square tubing that replaces the sheet metal box used on the original version, front bulkhead, and nose sideplates.

The lower nose plate was also installed at this time. Then I installed the cranks, the rear wheel( I had been waiting for the cassette) the chain, and the 2 chain tubes. One of them goes inside the floor, and the other under the body.  Things really started moving along at tis point. The steering rod was installed, along with the front shock struts, and steering linkages .At the same time, I was installing various wiring and lighting system components. Turn signals, flasher, tail lights, and horn. Much of the wiring for these components ran through the wheel wells, and as such, needed to be installed before the shocks.
Well, I just uploaded 5 photos but they aren't here, so I think I'll continue at a later date.
posted by VMDave at 2:01 PM
![]()
![]()

0 Comments:
Post a Comment
<< Home