almost done.....
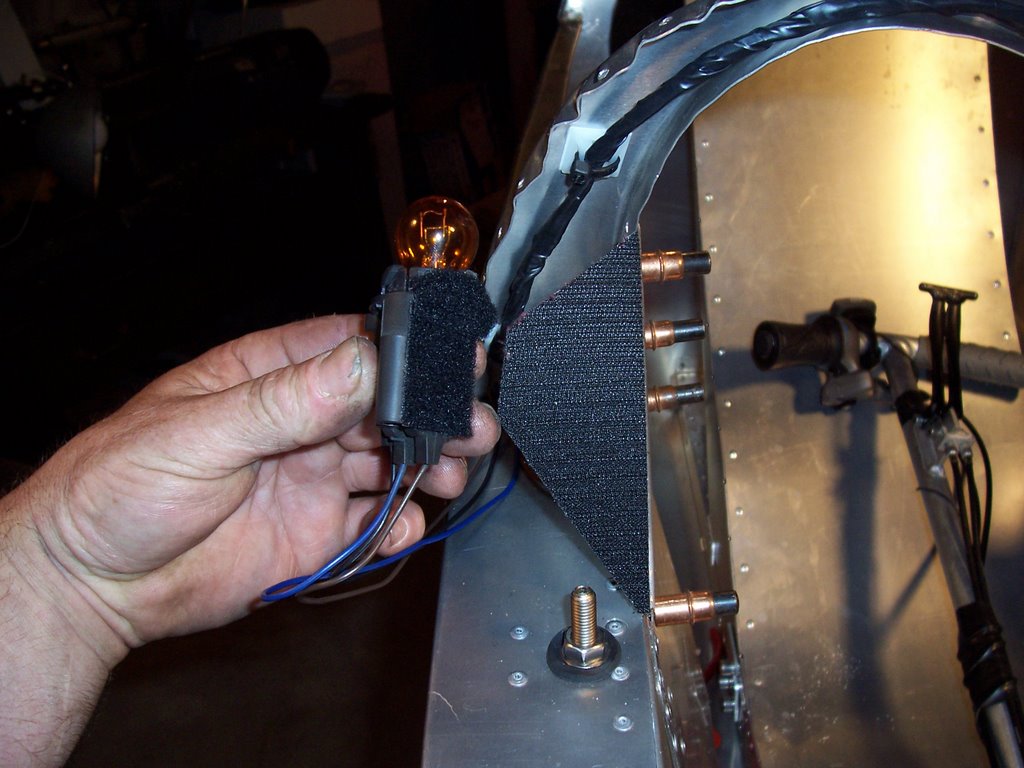
Here's one of the stolen turn signals. Velcro is great stuff. I plan on using it to restrain the batteries for the power assist, but since the motor and controller are not yet available, I cut foam blocks to fill in where they will fit in the floor.
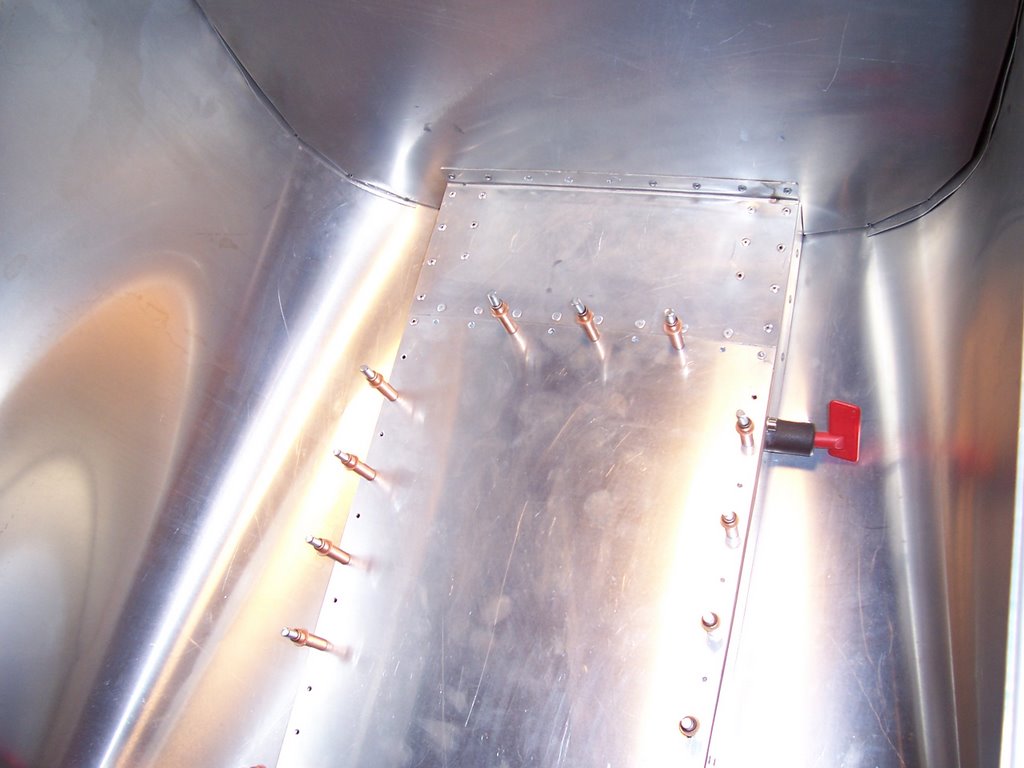
I also cut the floor in three pieces. The location of the cut out for battery access in the original design didn't really fit my layout, so I ordered a couple pieces of aluminum sheet from MRC, a supplier for work. I put splice pieces between the cut out center section and front and rear sections, so that structural integrity of the floor would not be comprimised, while full battery access will be available by drilling out some rivets. I won't have to mess with the long ones in the back, or the front section where there are rivets in all different directions. This worked out well, because I found that after attaching the nose section, the front part of the floor was too big to fit between the wheel wells. I was able to flatten out some previous bends, cut deeper notches at the corners, and rebend the piece to fit properly. It was challenging, but worked out well.
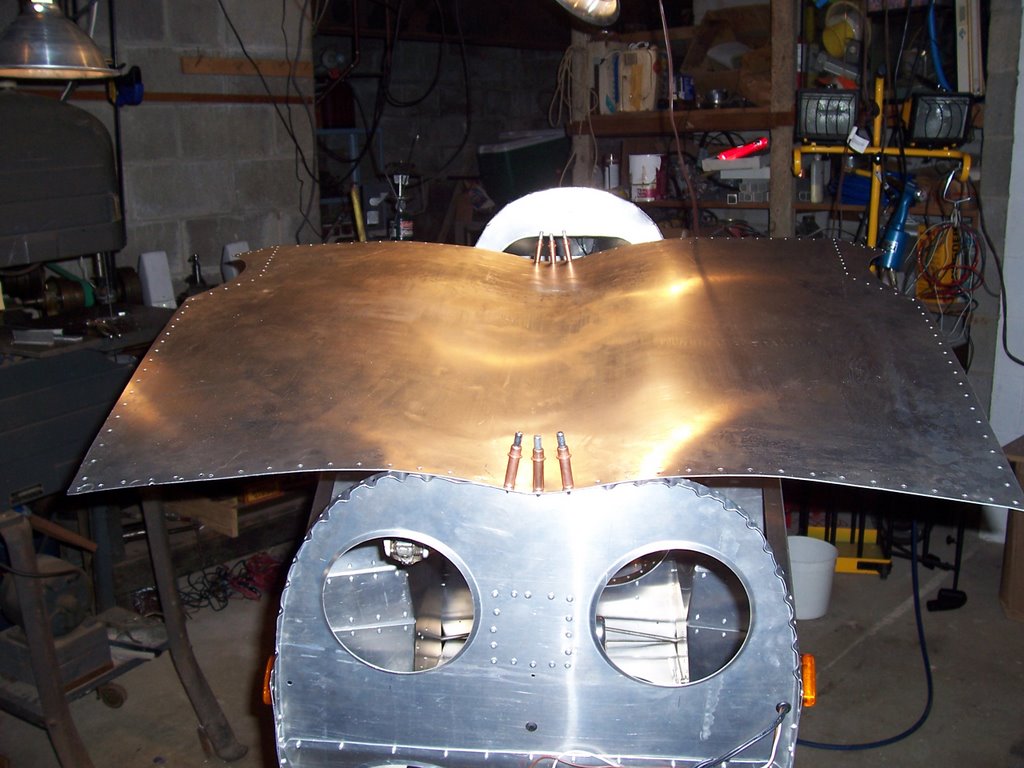 I had already drilled and clecoed the hood, and removed for deburr and wiring, but was dissatisfied with the rough sketch manner in which I had marked the section of wheel well cover that needed to be cut out. The dutch manual gave a radius to use for the arc. I used their figure to create a template that fit perfectly, and enabled me to cut the pieces out on the band saw with minimal filing. Sweet. I also marked and cut off a little extra metal from the area at the dashboard, and a little bit from the right front of the nose. I must have been off a little bit on the initial placement of the wheelwells. This made assembly more difficult, and the whole thing is a little crooked, but I was still able to fet it all together.
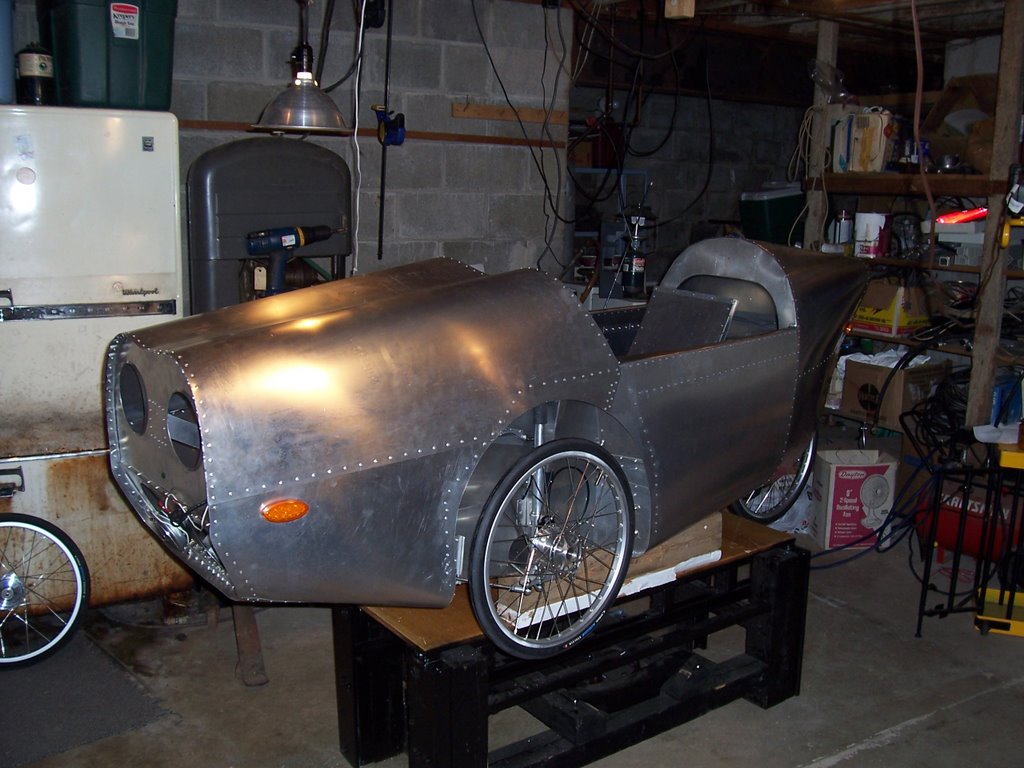
Rivetting is the easy part. Once everything has been drilled, deburred, and re-clecoed in place it goes very quickly.
The next step was the nose cone. David E. from VelomobileUSA did a beautiful job on it. It comes with preglued rubber edging which takes a little while to install, but stays where you put it, and looks and works great.
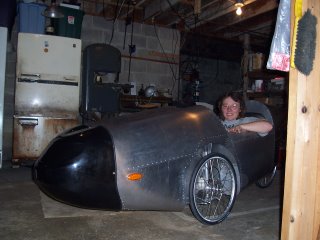
Here's Leah checking it out. I had to have her sit in it while I adjusted the steering linkage to make the wheels equidistant front and rear. First you adjust the wheels to tilt in at the top, then center them in the wheelwell, then the steering. I used a large Irwin bar clamp to set the steering. Having seen the guage they used to set up my Versatile in NL. made me think of using it right away.
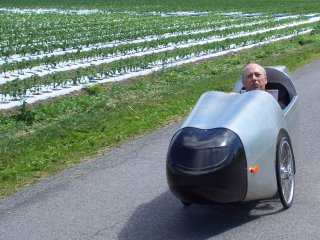
Everything functioned well on the first test ride. I was shocked at how much more quickly the Alleweder accellerates than my Versatile.( which costs a whole lot more) The test ride did however demonstrate the very immediate need for a mirror. My next post will show what I came up with from what I had laying around out in the garage, the maiden voyage (and subsequent repairs) and the temporary headlight mount.
posted by VMDave at 11:24 AM
![]()
![]()

0 Comments:
Post a Comment
<< Home