Tuesday, February 21, 2006


Then the front stay mounting brackets had to be riveted in, after drilling out the bolt holes through the wheel well.
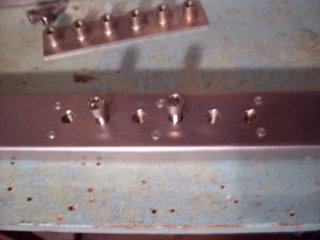

Nut plates for attaching the seat were riveted into the U channels, which also stiffen the bottom plate, and provide gusseting for the main spar. The main spar is shown below, after having been riveted to the bottom plate.
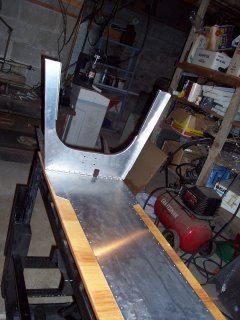

Between the preparation of the wheel wells and U channels, and the step seen above, I took a couple days off to create a new work space in the basement. This was affected by knocking out a couple walls from an ancient darkroom. (used by previous owner) The pictures I took fail to convey the process adequately, so I haven't bothered uploading them. With the U channels clecoed to the main spar and bottom plate, the wheel wells were ready to be positioned, as seen below:
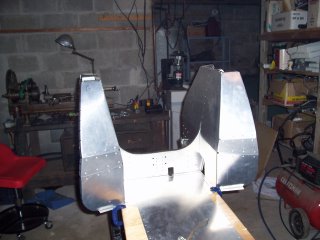
Well, I guess the U channels aren't yet in place in this shot. It's hard to tell from the thumbnails I was browsing through.
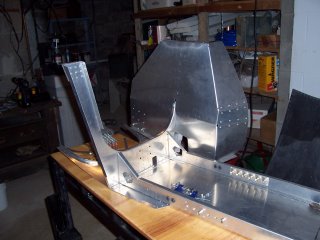

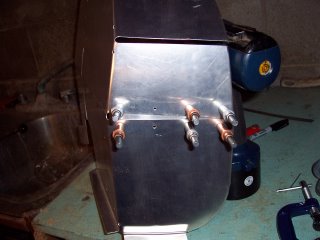
That's better. This picture shows the U channels clecoed to the main spar with just the right wheel well in place. Visible on the left of the main spar is the stainless steel bracket which will support the top of the shock/steering strut. Below you can see the whole assembly flipped over to rivet the bottom plate to the lower flanges of the wheel wells.
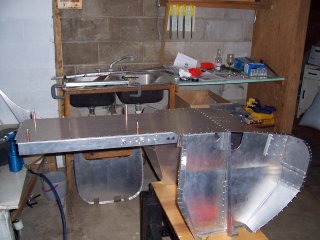
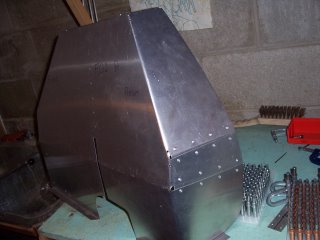
Finally, a shot of the structure after riveting it all together. At this point, I am awaiting further instructions, having received the first part of the manual as an Email from the manufacturer.
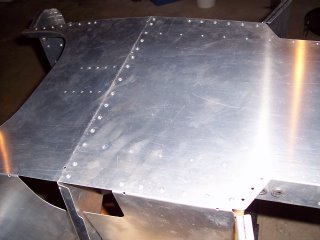
constuction begins


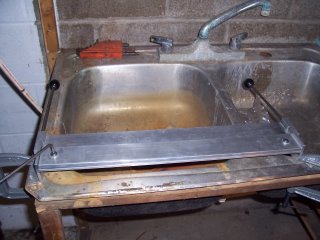
The first step was to bend and install filler plates to replace the material removed from the wheel wells to acheive the required bends. I used a cute little aluminum brake to bend the filler pieces to match the wheel wells. Given the limited space available I clamped it to this old sink to leave bench space open. I had originally set up a work area in the garage, but it is just too cold out there.


The filler pieces were clecoed, then riveted in place.

Saturday, February 11, 2006

Unpacking


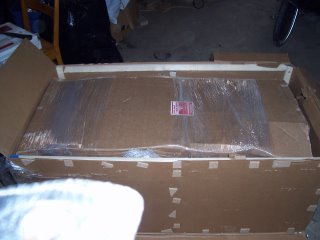
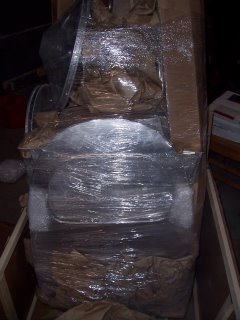
Unpacked the boxes today in the garage where it was between 20-30 degreesF all day. A close inspection of the first box left me confused as to where to begin. The outer cardboard layer was taped and stapled, not a box, so much as overlapping pieces of cardboard. After much cutting and pulling staples, the meat of the package was finally revealed.

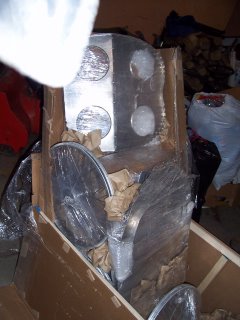
A wooden skeleton protected a tightly wrapped pile of parts, including wheels, the seat structure, steering rod, and various preformed bulkheads. It became immediately obvious that David Eggleston at velomobile USA put alot of thought and time into packaging my kit for it's journey from Texas to western New York.

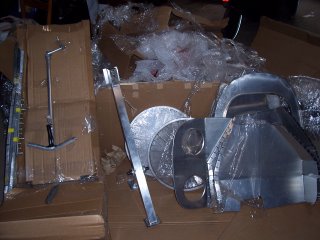
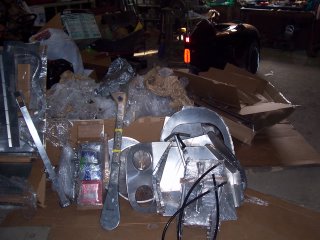
As I continued to chisel away at the layers of stretch wrap, bubble wrap, cardboard, and wadded up packing paper, an impressive pile of parts (and packing material) emerged.


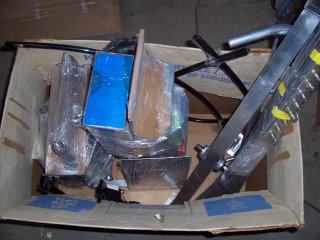
The second box was much smaller, but added a little color to the mix.


In the background you can see the reflector on the back of the Versatile. I went to get it from the Netherlands, rode it around for two weeks, and shipped it back to the US. During the winter months I use it for running errands, but haven't been making the 25 mile each way commutes to work. The versatile really deserves it's own blog, and now that I am learning how easy this is to do, I can see myself starting it soon. When I do, I will post the info to get there for those of you who might be interested. So just one picture of the Versatile, and I will restrict this blog to the Alleweder project.


There was one damaged piece in my shipment. It is just the top of the seat, and will easily be bent back into shape.


I put some of the smaller parts in a box for safe keeping, cleaned up the mess, and left the flat pieces wrapped up till needed for their own protection.

Now I am awaiting the assembly manual. David will be E-mailing it to me. The original manual was in Dutch, and he has been working hard at compiling pictures for the english version, with insights gained from working with a customer who is biulding his kit at the "factory" in Texas.

Thursday, February 09, 2006

Kit Arrives!


The FAW kit has finally arrived, after having waited almost a year. The need to develop tooling , and difficulty in obtaining materials caused most of the delay. Through out the wait, David at Velomobile USA has kept me abreast of the situation, and made it easy to be patient.